1. 白米2 cup加4 cup水放入瓷锅中,小火煮开;
2. 等到水面降到与米齐平,铺上切成片的腊肉和腊肠,盖上锅盖继续煮;
3. 每隔5分钟向锅内加入2杯高汤,继续用小火煮半小时,直到所有高汤被米吸收;
4. 放上煮好的蔬菜和煎好的蛋。

ArmadilloCommander's Base 犰狳指挥基地
该离开的都走了,独自一人蒸馏着黑暗,直到让自己湮灭在无尽的黑暗中……
1. 白米2 cup加4 cup水放入瓷锅中,小火煮开;
2. 等到水面降到与米齐平,铺上切成片的腊肉和腊肠,盖上锅盖继续煮;
3. 每隔5分钟向锅内加入2杯高汤,继续用小火煮半小时,直到所有高汤被米吸收;
4. 放上煮好的蔬菜和煎好的蛋。

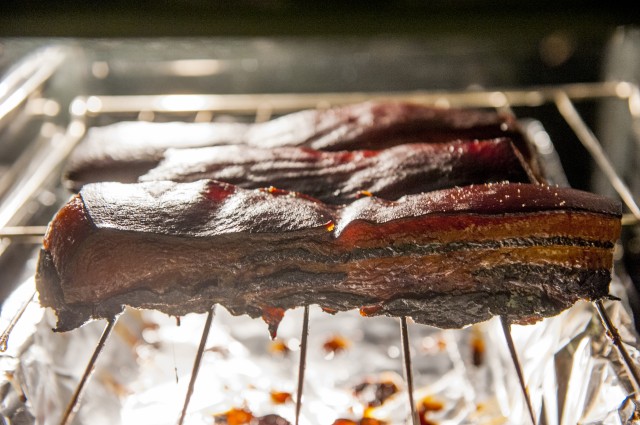
1. 老抽酱油用水稀释20%(确保能淹没所有肉),加入10片生姜片,一寸桂皮,5颗八角,2颗丁香,10粒花椒,10g冰糖,30 mL料酒,煮沸15分钟后冷却到室温;
2. 肥瘦相间的五花肉擦干擦干表面水分,完全浸入酱油中,在室温下腌制24小时;
3. 捞出后擦干表面,放入烤箱中;下边放一只烤盘接滴下来的猪油。把烤箱开到Warm,烘约50小时;
注:因为烘制后猪皮较硬,可以考虑在烘烤前将猪皮剥除,这样猪油渗出速度也会加快。

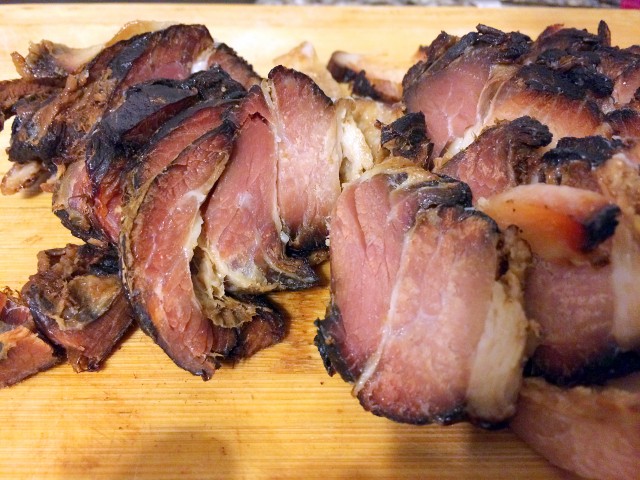
4. 等到肥肉部分按压不变形时即可取出,放在冰箱中储存。
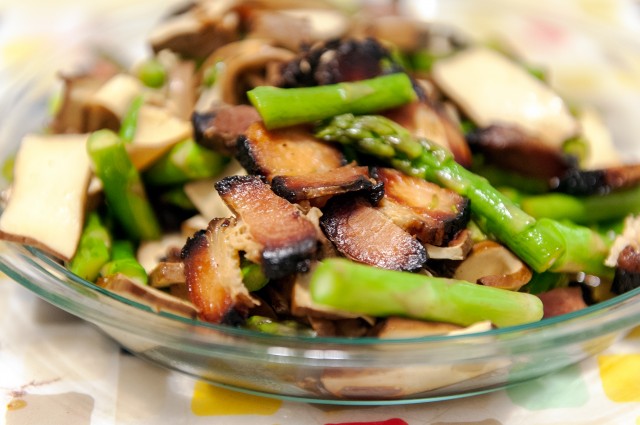
5. 烹调前先在温水中浸泡一个小时,切片后可蒸或炒。


I tried to create a USB install drive for the OS X Yosemite by using the createinstallmedia provided in the installer (/Applications/Install\ OS\ X\ Yosemite.app/Contents/Resources/createinstallmedia). However, when I booted my MacBook Pro with this home-made USB install drive, the installer says the checksum of installer file is incorrect.
I tried to use different media, the same issue remains.
Finally I made this work by restoring the Basesystem.dmg and copying Packages folder manually. Just follow the Option 2 or 3 in this article.
冬天去喝个小酒什么的还是很好的,要是有火腿就更好了。


1. 把网站搬到虚拟主机上了,顺手改了个版。戳这里:http://yimingchen.org
2. 这个blog已经开了快十年了。最早是在MSN Spaces上,后来微软将其改名叫Windows Live Spaces。2010年微软关闭了Windows Live Spaces,强迫所有用户迁移到了Wordpress.com。现在我把它也搬到了虚拟主机上自己托管。由于之前历次迁移,很多数据都很错乱,比如有些 图片至今还存在Windows Live Storage上,还有些图像的时间也有错误。我尽最大努力进行了修正。
托管在Wordpress.com上的站点今后不会再更新,但还会保持一段时间以完成迁移;新站点在https://blog.yimingchen.org/。
大家可以通过两种方式订阅:
1. 使用RSS阅读器(如Digg Reader):https://blog.yimingchen.org/?feed=rss2
2. 使用邮件订阅:访问https://blog.yimingchen.org/并在右侧“邮件订阅”输入您的电子信箱。